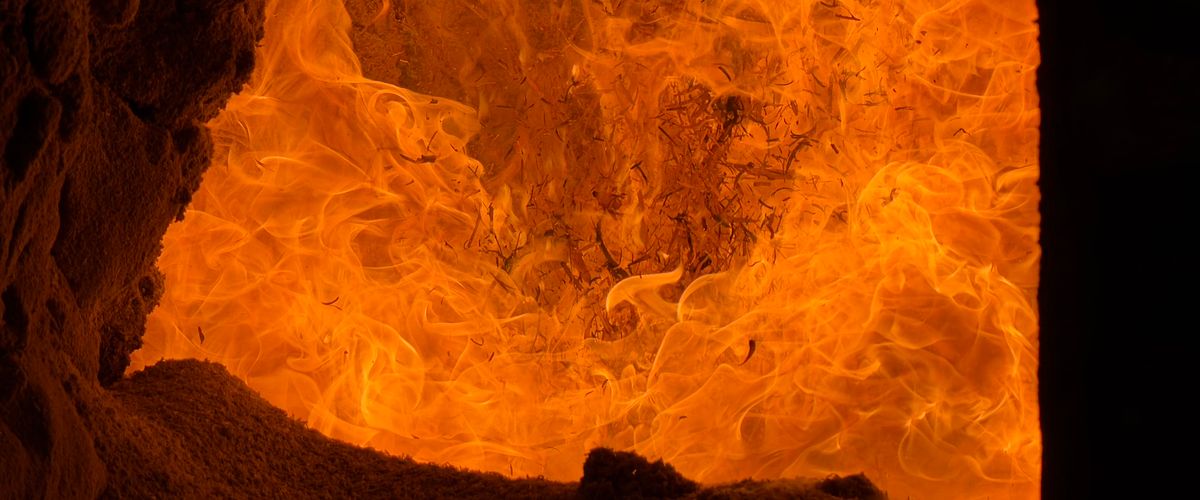
Chimney fire brick (refractory brick) lines the firebox interior — the section directly exposed to flame. Made from high-alumina or silica-alumina clay, it withstands 982°C (1,800°F) and above. Standard common brick fails at around 649°C (1,200°F). The rest of the chimney exterior uses common face brick; only the firebox needs firebrick. Medium-duty grade (rated to 1,480°C) is the standard specification for residential and light-commercial fireplace work.
What chimney fire brick actually is
A chimney fire brick is a refractory ceramic brick designed to sit directly inside a firebox — in contact with, or immediately adjacent to, open flame. It is not the brick making up the chimney shaft, the exterior stack, or the decorative surround. Those components use standard masonry. Only the firebox lining needs firebrick.
The material difference matters. Firebrick is made from alumina-silica clay formulations with an Al₂O₃ content typically ranging from 23% to 45%, fired at 1,300–1,500°C during manufacture. This gives it a dense, vitrified structure that resists thermal expansion, chemical attack from combustion gases, and mechanical stress from repeated heating and cooling cycles.
Regular clay brick is fired at 900–1,050°C. It is never intended for direct flame exposure. At firebox temperatures, it absorbs heat unevenly, expands at the wrong rate, and progressively spalls — which is a polite word for "falls apart."
temperature rating
begins to fail
standard firebrick
Firebox vs chimney exterior: different jobs, different brick
A masonry chimney has two distinct material zones. Understanding where each brick type belongs saves you from an expensive mistake.
The firebox is the combustion chamber — the enclosed box where the fire burns. Its floor, back wall, and side walls take direct flame, radiant heat, and thermal shock from hundreds of heat cycles per year. This is where firebrick is non-negotiable. Temperatures here reach 500–760°C in a typical residential wood fireplace, and up to 870°C in a tightly sealed wood-burning stove insert.
Regular brick in a firebox is like wearing a cotton shirt to a welding job. You can, technically. Once.
The chimney shaft and exterior stack handle very different conditions: weather exposure, structural load, and flue gas temperatures that have already dropped significantly by the time gases exit the firebox. Standard face brick or engineering brick is appropriate here. It is structurally stronger, weather-resistant, and substantially cheaper than firebrick — which is exactly why you use it for the 90% of chimney mass that never sees an open flame.
| Zone | Temperature range | Material | Why |
|---|---|---|---|
| Firebox floor | 400–700°C peak | Firebrick (split or full) | Direct flame contact, thermal shock |
| Firebox back wall | 500–760°C peak | Firebrick (full) | Continuous radiant heat exposure |
| Firebox side walls | 400–650°C peak | Firebrick (full or angled) | Flame contact, lateral expansion stress |
| Smoke shelf / throat | 200–400°C | Firebrick or dense castable | Moderate heat, gas turbulence |
| Chimney shaft lining | 100–250°C | Flue liner tile or refractory castable | Creosote resistance, structural |
| Chimney exterior | Ambient | Common face brick | Weather resistance, appearance |
Three duty grades — and which one you actually need
Firebrick is classified by duty rating under ASTM C27, which defines performance by pyrometric cone equivalent (PCE) — a measure of refractoriness under load. For chimney work, three grades are relevant.
| Duty Grade | Max Temp (ASTM C27) | Typical Use | Chimney Application |
|---|---|---|---|
| Low-duty | 871°C (1,600°F) | Light industrial, pizza ovens | Not recommended for residential fireplace fireboxes |
| Medium-duty | 1,480°C (2,700°F) | Industrial furnaces, residential fireplaces | Standard for most residential and commercial fireplaces |
| High-duty | 1,565°C (2,850°F) | Steel, glass, industrial kilns | Wood-burning stoves, high-efficiency inserts, high-draft chimneys |
For the vast majority of residential fireplace fireboxes, medium-duty firebrick is the right answer. Its 1,480°C rating gives a safety factor of roughly 2× over the 760°C maximum a typical residential firebox reaches. That margin matters when the damper sticks, someone leaves a very large fire burning, or kindling gets out of hand on Christmas morning. *(We reckon this happens more often than anyone admits.)*
High-duty brick is worth the extra cost for wood stoves and high-efficiency insert fireboxes, where combustion efficiency keeps temperatures elevated for longer periods. If your stove has an EPA certification for high efficiency, specify high-duty firebrick.
Standard sizes and shapes
Chimney firebrick comes in two standard thicknesses and several shapes. Knowing which you need before ordering saves significant rework.
| Type | Dimensions (inches) | Dimensions (mm) | Use |
|---|---|---|---|
| Full brick | 9 × 4.5 × 2.5 | 229 × 114 × 64 | Back wall, side walls |
| Split brick | 9 × 4.5 × 1.25 | 229 × 114 × 32 | Firebox floor, inner lining to save space |
| Soap brick | 9 × 2.25 × 2.5 | 229 × 57 × 64 | Narrow courses, fill strips |
| Arch brick (various) | Variable | Variable | Sloped back walls, angled firebox surfaces |
Split bricks are commonly used on the firebox floor because they reduce the height of the floor lining, leaving more usable firebox volume. They are also lighter, which matters when the structural hearth beneath has limited load capacity. The trade-off is reduced thermal mass — a full brick holds more heat, which improves combustion efficiency in cold start conditions.
Arch bricks are occasionally needed for sloped back walls (the "Rumford" firebox profile) where standard rectangular bricks leave unacceptably large joints at the angled surface. If you are rebuilding a Rumford, order the arch profile or have bricks cut on a masonry saw.
Firebrick vs common brick: the temperature gap
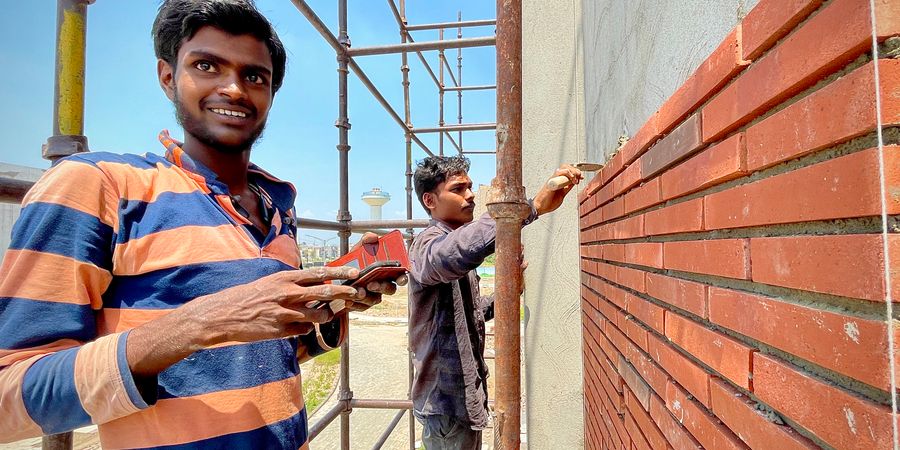
The difference is not subtle. It is approximately 333°C of useful working range — which, in a firebox, is the difference between a 15-year lining and a one-season disaster.
| Property | Firebrick (medium-duty) | Common clay brick |
|---|---|---|
| Max service temperature | 1,480°C (2,700°F) | ~649°C (1,200°F) |
| Al₂O₃ content | 23–45% | ~10–18% |
| Thermal expansion coefficient | 4–6 × 10⁻⁶/°C | 8–12 × 10⁻⁶/°C |
| Density | 1.9–2.1 g/cm³ | 1.7–1.9 g/cm³ |
| Thermal shock resistance | High | Low |
| Typical cost (per brick) | $3–8 | $0.50–1.50 |
The thermal expansion coefficient deserves attention. Common brick expands roughly twice as fast as firebrick when heated. In a firebox that cycles from 20°C to 700°C and back hundreds of times per year, that differential expansion rate is what causes joint failure, cracking, and spalling. Firebrick's lower expansion rate keeps it dimensionally stable across the thermal range it was designed for.
Firebrics field note: In 20 years of specification work we have reviewed thousands of residential firebox re-linings. The single most predictable predictor of premature failure is not brick quality — it is mortar specification. Clients who substituted $12/bag Portland mortar for $18/bag refractory mortar averaged 2.3 years before re-lining versus 17+ years for correctly mortared installations. The budget saving on mortar was typically $35–60. The re-lining cost was typically $700–1,200. No further comment.
Refractory mortar: as critical as the brick itself
The mortar joint in a firebox is not a gap-filler. It is a structural element that must match the thermal expansion characteristics of the firebrick beside it. Standard Portland-based mortar begins to degrade at approximately 300°C and crumbles within one heating season inside a firebox.
Refractory mortar — sold as "furnace cement," "high-heat mortar," or "refractory cement" — is an alumina-silica based product formulated to match the thermal behaviour of firebrick. It maintains its bond at 1,260°C (2,300°F) minimum, and higher-rated products reach 1,648°C.
Joint thickness: Keep mortar joints to 3–5 mm maximum in the firebox. Fat joints (8 mm or more) create thermal stress concentration points that crack first. A well-built firebox looks like it barely has mortar at all.
Refractory mortar is typically sold premixed in tubs. Apply it to both mating surfaces — not just one. Tap the brick home firmly and remove excess before it dries. Most products require an initial "curing" fire (several small fires over 48 hours) before full-strength operation. Read the product data sheet; the manufacturer's cure schedule is not a suggestion.
One practical note: refractory mortar is significantly less forgiving to work with than regular mortar. It sets faster, it does not allow much repositioning, and if you get the joint wrong you will know about it. The mortar joint is 4 mm. That is thinner than most plumber's opinions — and considerably harder to change once it dries.
How to spot failing chimney firebrick
Annual inspection catches problems at the stage where individual brick replacement fixes them. Deferred inspection leads to full re-linings. The signs are not subtle, but they require actually looking — which means getting down in front of the firebox with a torch and looking at each brick face and mortar joint.
- Hairline cracks across a brick face — acceptable if shallow and not widening. Mark them and re-inspect next year.
- Deep cracks (more than 3 mm wide) — the brick has fractured internally. Replace it before the next heating season.
- Spalling — surface layers are peeling or flaking away. Spalled bricks have lost structural integrity and must be replaced.
- Crumbling mortar joints — if you can push a screwdriver into a joint more than 5 mm without resistance, the joint is failing. Re-point at minimum.
- White powder deposits (efflorescence) on brick faces — salts migrating through the brick from moisture ingress. Indicates water is entering the firebox system, which is a separate problem to address.
- Brick movement — if a brick rocks when pressed, the mortar joint behind it has failed and the brick is loose. This is a fire hazard.
Any gap that exposes the backing material behind the firebrick lining is an immediate safety concern. Stop using the fireplace and have it professionally assessed before the next fire.
How to replace chimney fire brick: step by step
Let the firebox cool completely. At least 24 hours after the last fire. Refractory mortar bonds to cool, dry surfaces. Residual heat causes premature setting and weak joints.
Remove the damaged brick. Use a cold chisel and hammer to break out the old mortar joints on all four sides of the failed brick. Work carefully to avoid damaging adjacent bricks. If the mortar is truly refractory-grade, this requires patience — it will resist the chisel.
Clean the cavity. Remove all old mortar from the surrounding joints and the backing wall. Brush clean with a stiff brush. Vacuum the cavity. Any loose material between the new brick and the backing will create a void that causes the brick to crack under thermal load.
Check the replacement brick for fit. Dry-fit it before applying mortar. It should seat flush with the surrounding bricks with a 3–5 mm gap on all sides for the mortar joint. If the brick needs to be cut, use a masonry saw — not an angle grinder, which creates microfractures.
Apply refractory mortar and set the brick. Butter all five surfaces (back and four sides). Press firmly into position and tap home with a rubber mallet. Check flush with a straightedge. Remove excess mortar from the joints immediately — it does not clean up as easily after it begins to set.
Cure with progressive fires. Follow the mortar manufacturer's cure schedule — typically three progressively larger fires over 48–72 hours. Do not immediately fire a full load of wood. The mortar is not fully cured until it has completed the thermal cycle.
Why chimney firebrick fails early
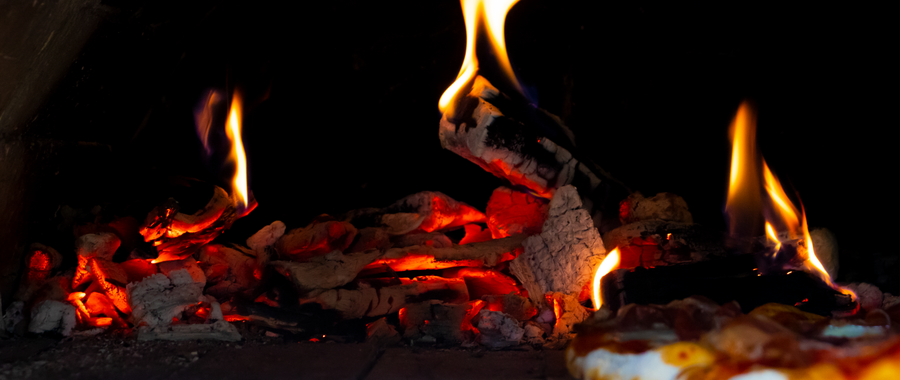
When firebrick fails well before its expected lifespan, the cause is almost always one of four things. None of them are mysterious, which is why they're frustrating when they happen.
- Wrong mortar. Portland-based mortar in a firebox application. As discussed above, it degrades at 300°C. The symptom is mortar joints crumbling within two seasons while the bricks themselves look fine.
- Excessive moisture. Water entering the firebox from a damaged chimney cap, failed crown, or inadequate flashing causes salt migration and physical spalling as the water freezes and expands inside the brick's pore structure. Fix the water ingress before the brick.
- Underfired brick. Firebrick sold through general masonry supply channels is sometimes low-duty material (rated to 871°C) that has been mislabelled or miscategorised. Buy firebrick from a specialist refractory supplier with documented duty ratings. See our firebrick range.
- Overfired application. Using a low-duty brick in a high-efficiency stove or an appliance that regularly reaches 800–870°C. The solution is specifying medium or high-duty brick, not trying to manage operating temperatures.
One field story worth mentioning: a contractor in Eastern Europe once specified standard red clay brick for a firebox renovation on the logic that it was cheaper and the client "wouldn't notice." The first heating season produced hairline cracks across every front-face brick. The second season produced spalling and open gaps at the mortar joints. The re-lining cost was three times the original material saving. The client noticed.
Sourcing chimney firebrick for a project?
We supply medium and high-duty firebrick in standard and custom sizes, with full duty rating documentation. Minimum order: one pallet. Export to over 40 countries.
Request a QuoteWe will also tell you exactly what grade you need. No upselling.
Straight answers
Are chimney bricks the same as fire bricks?
No. Chimney bricks (common face brick) form the exterior shell. Fire bricks line the firebox interior. They look superficially similar but are different materials with different compositions, firing temperatures, and thermal performance. Common brick fails under direct flame exposure within a single heating season. The firebox is the only part of a chimney that requires firebrick.
What temperature does a chimney firebox reach?
A typical residential wood fireplace firebox peaks at 500–760°C (930–1,400°F) during a vigorous fire. A high-efficiency wood stove or insert can sustain 700–870°C (1,300–1,600°F). Medium-duty firebrick (rated to 1,480°C) provides a substantial safety margin above both figures — which is why medium-duty is the standard residential specification.
How long do chimney fire bricks last?
Properly specified and installed medium-duty firebrick typically lasts 15–25 years in a residential firebox under normal use (2–4 fires per week during winter). Premature failure — under 5 years — is almost always caused by wrong mortar, water ingress, or underfired brick. Annual inspection catches the early cracking that, if left, becomes a full re-lining job.
Can I replace just one cracked chimney fire brick?
Yes, if the surrounding mortar joints are still sound and fewer than three bricks are affected. Chisel out the damaged brick cleanly, remove all old mortar, and set the replacement with refractory mortar at a 3–5 mm joint. If more than 20% of the firebox face shows cracking or spalling, a full re-lining is more economical than patching individual bricks.
Do I need refractory mortar or can I use regular mortar?
Refractory mortar is required for firebox joints — there is no alternative. Regular Portland-based mortar degrades at approximately 300°C, which is well below typical firebox temperatures. It will crumble within one heating season. Refractory mortar (rated to 1,260°C minimum) maintains its bond for the service life of the brick. Keep joints to 3–5 mm maximum.
How many fire bricks does a standard residential firebox need?
A standard residential firebox (roughly 60×50×40 cm interior) typically uses 40–60 full-size bricks for the floor, back wall, and side walls. Split bricks on the floor halve the brick count for that surface. Calculate your total surface area, divide by 0.028 m² (face area of a 9×4.5 inch brick), and add 10% for cuts and breakage. Order slightly over — matching replacement bricks years later is harder than it sounds.
When is spalling firebrick a fire safety concern?
Spalling becomes a fire hazard when pieces are falling into the firebox during operation, when gaps have opened between bricks exposing the backing wall or surrounding combustible framing to heat, or when the firebox floor has lost more than 30% of its face surface. Any gap in the lining that could allow heat or flue gases to contact structure is an immediate concern. Stop using the fireplace and have it inspected before the next fire.